
How to replace the battery in a Logos Biosystems Luna Cell Counter
Warranty warning
THIS WILL VOID YOUR WARRANTY!
Check your docs and purchase date before doing this. Ours had 2 years warranty on it, we bought it around 2013 so it was out of date when I came to do the repair.
If you still have a warranty and the device is still in date, contact the manufacturer and see if they can help you first.
Background info
This is actually a repair that applies to almost all computers with a standard motherboard.
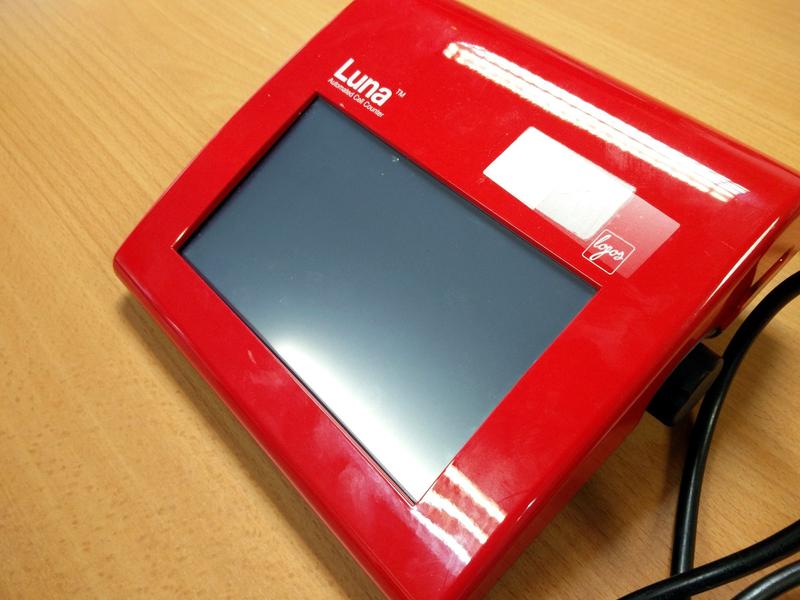
In our case, it happened to be a Luna Cell Counter by Logos Biosystems. This guide is for you if you set the date on the Cell Counter, but it loses it when you switch it off and you have to set it again every time.
Have you ever wondered how your computer keeps track of the time when you turn it off? It uses an on board battery called a CMOS battery to do it.
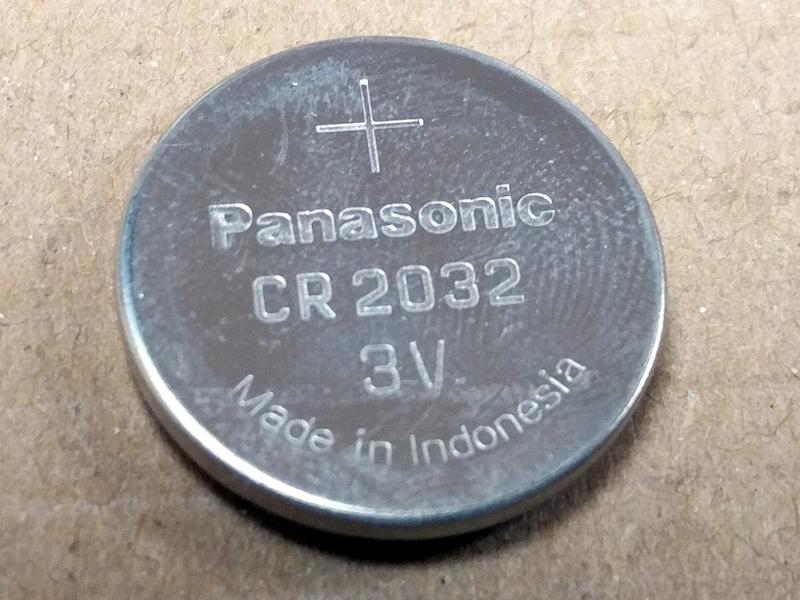
When that battery dies, your PC no longer knows what the time is.
What we are about to do is simply pop out the old battery and replace it with a new one.
What you’ll need
- A Luna cell counter by Logo Biosystems. Ours is model L10001, see the picture above. As explained in the intro however this may apply to several models.
- A small Phillips screwdriver
- A small flat head screwdriver
- Or anything you can prod about with, a cocktail stick might work or even the Phillips screwdriver… A spudger would be perfect.
- A 3 volt CR2032 battery
- These are available online very cheaply or in most shops. We got a whole pack of them from Poundland for… a pound. Our supplier wanted to charge £15 for one!
- (Optional) Some electrical tape
How to do the repair
Step 1
Ensure the device is powered off and unplugged.
On a surface that won’t scratch the device, turn it upside down. We used a piece of cardboard to protect it from the table.
Step 2
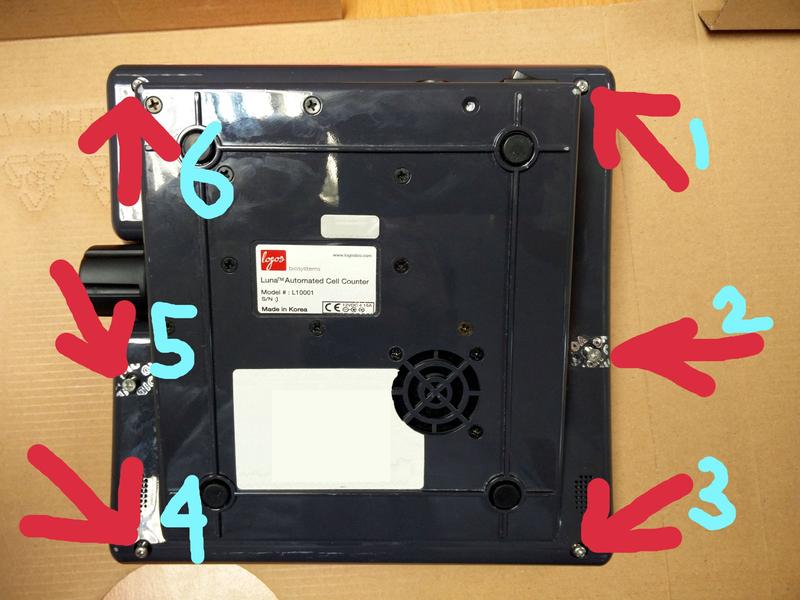
Remove the warranty stickers shown at points 5 and 2 above. They may be located in different spots for you.
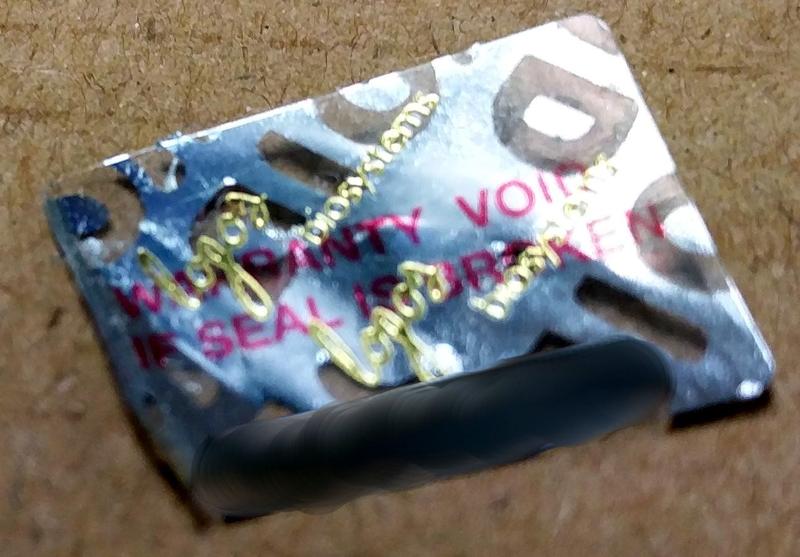
If they happen to not be covering screws, DO NOT REMOVE THEM! This is unlikely though.
Step 3
Remove the screws at points 1 through to 6 as marked in step 1. FYI, the screws at 5 and 2 should be slightly longer than the rest, so be sure to keep track of which screw goes where.
Step 4
Gently prise the top and bottom half of the case apart. It came apart in my hands but you may want to use your spudger to get into the gap and lever it.
Take it easy here - the motherboard and screen are on the lower half and the power unit is on the upper half (when upside-down), so there are connecting cables.
You do not need to disconnect any cables. This repair can easily be done with some nimble fingers. We managed to get a good 5cm without putting any stress on the cables.
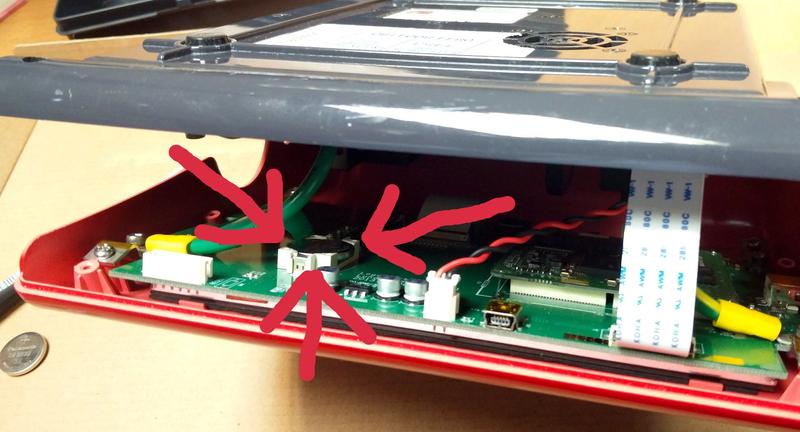
Just be on the lookout for the ribbon cable and the red and black twisted pair you can see in the picture.
Step 5
Remove the tape from over the top of the battery.
The original tape is not pictured because I had already done the repair before taking the pictures, so it’s gone. It was very easy to remove and came away simply by sliding the flat screwdriver underneath it.
Step 6
Gently push the clips furthest away from you until the battery pops out.
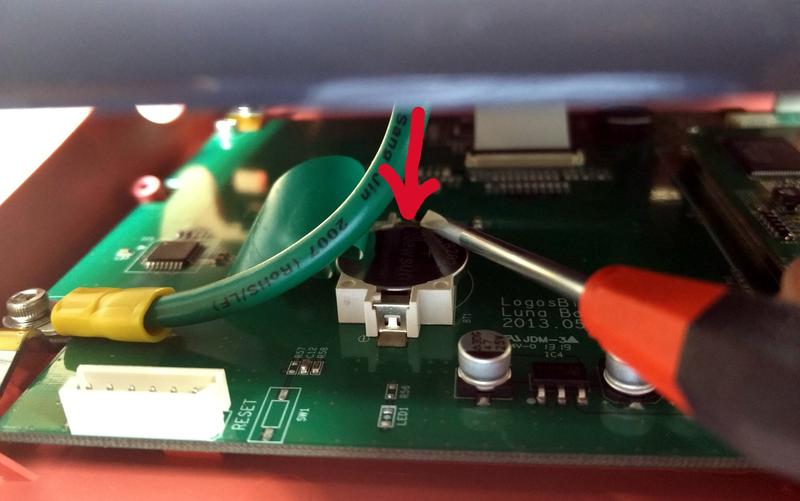
These are what are holding the battery in place. If you look closely they cover the very edge of it, so push them away. The battery should pop out on its own when you release these clips.
Again, take it easy, don’t force anything, it will come out if you poke around a little.
Step 7
Remove the old battery (I went for the old ‘tip it til it falls out’ method) and replace it with the fresh one. It ‘clips’ into position fairly easily if you wiggle it round a bit and get it in at the right angle.
You’ll know when it’s in place.
Step 8 (optional)
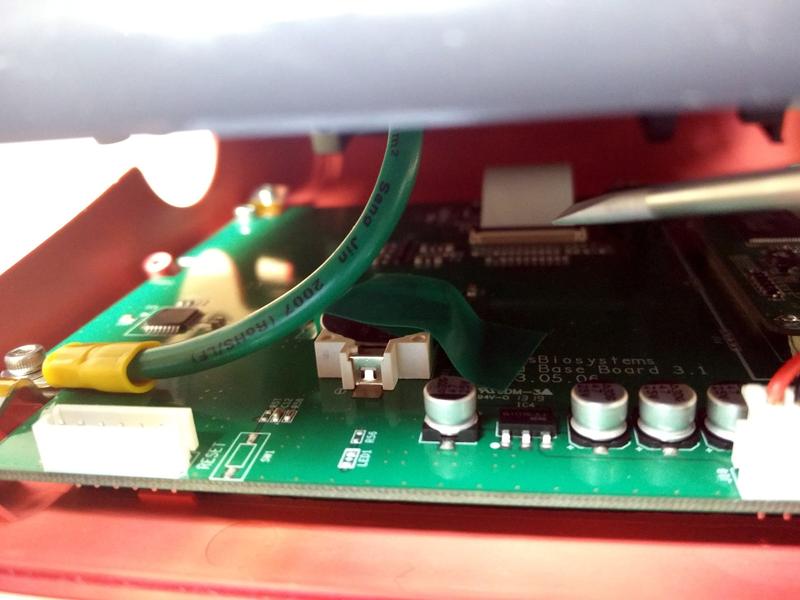
Cover the battery with tape.
This is a fiddly process but in my opinion it’s optional. We put tape there because Logos did.
I understand the rationale - when you close it all up the battery is actually hanging upside down inside the machine. However, the fitting is so firm it’s hard to imagine it could fall out on its own - or that tape would help all that much if it did.
Step 9
Bring the case back together and put the screws back in. Remember that positions 5 and 2 (see step 1) are where the longer screws went.
Step 10
The testing phase.
- Turn it over, plug it in, turn the power on, set the date.
- Then kill the power, unplug it & wait.
- Plug it back in, reapply power - the date should be correct.
Conclusion
This is a simple fix for a common problem with all computers. There was no info out on the internet about how to fix it so we got a quote from our supplier, which was sky high. The end result was some poking about and one of the more niche articles on this website.
The main message is - don’t be afraid to do this repair just because it’s lab equipment. It’s a routine fix that uses readily available parts.
If you are still worried even after reading this guide, go to a computer shop and ask about replacing a CMOS battery. They should be able to do it in 5 minutes.